The Best Chocolate Chip Muffins for a Sweet Southern Saturday Morning
These chocolate chip muffins are the perfect blend of light, airy, and irresistibly moist, bursting with rich chocolate in every bite. Their delicate crumb and decadent flavor make them an indulgent treat that’s impossible to resist. Perfect for weekend mornings, they’re a delightful way to start your day with a touch of sweetness and warmth.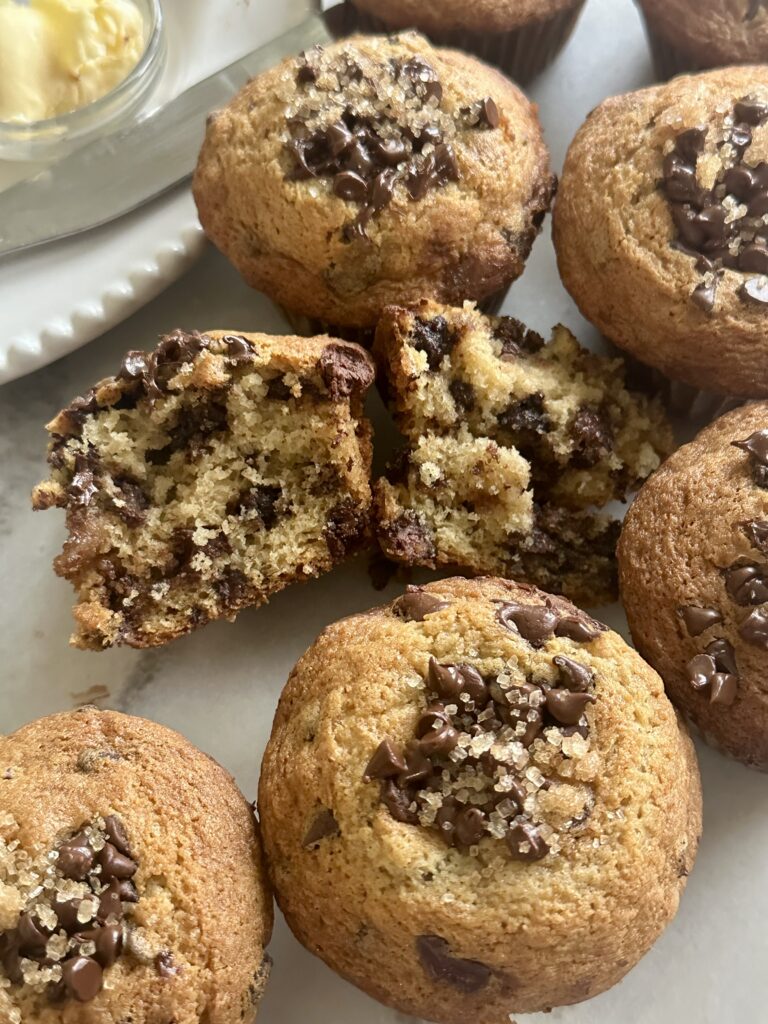
There’s nothing quite like waking up on a Saturday morning, pouring a fresh cup of coffee, and whipping up a batch of these moist chocolate chip muffins. Y’all, these are not just any muffins—these are soft, buttery, bakery-style muffins packed with melty chocolate chips. Plus they have a touch of cinnamon which simply takes them to the next level or I should say “muffin heaven”. They’ll make your kitchen smell like pure heaven, for sure and trust me, your family (and especially the kids) will love them.
This recipe is my go-to for an easy and fun weekend project. It’s simple enough that the kids can help (they’ll love stirring in the chocolate chips!), but the results are so good, you’ll feel like you bought them at a fancy bakery.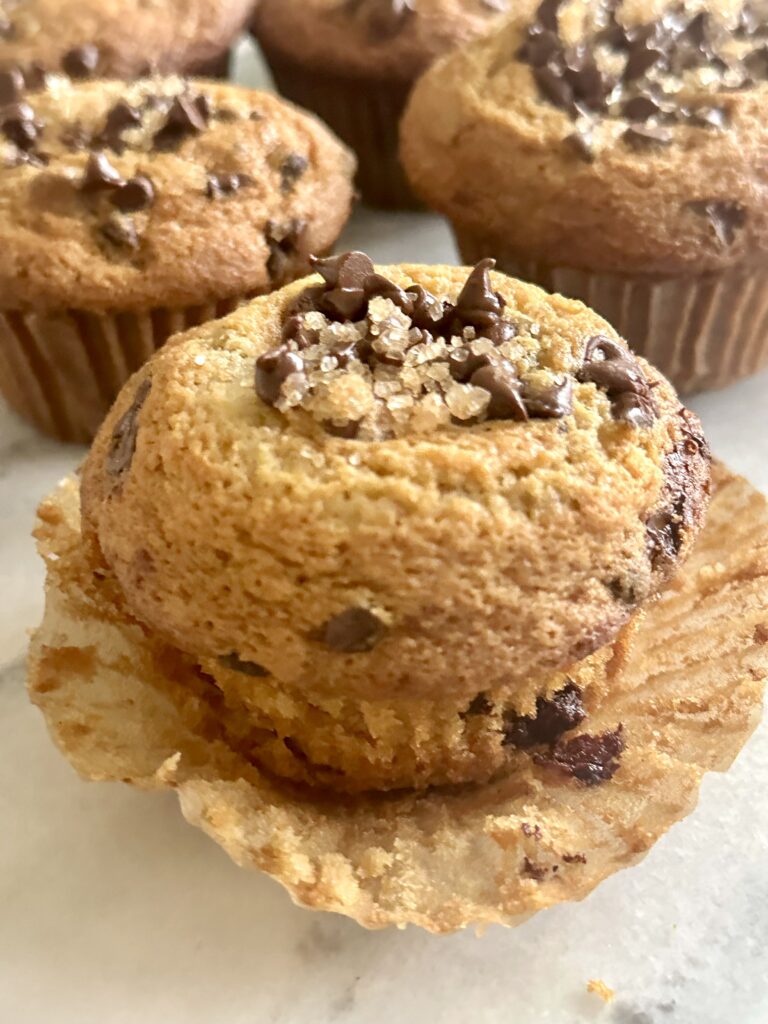
Why You’ll Love These Muffins
- Moist and Tender Texture: A combination of butter, oil, and sour cream keeps these muffins perfectly moist without being greasy.
- Loaded with Chocolate Chips: Every bite is packed with gooey chocolate goodness. Plus the combination of white granulated sugar and light brown sugar gives it the perfect balance of sweetness. Brown sugar adds moisture, richness, and a slight caramel flavor that complements the chocolate chips beautifully.
- Kid-Friendly and Fun: This is the perfect recipe for little hands to help out in the kitchen.
- Versatile Base Recipe: You can easily swap the chocolate chips for blueberries, raspberries, or even chopped nuts.

Ingredients You’ll Need!
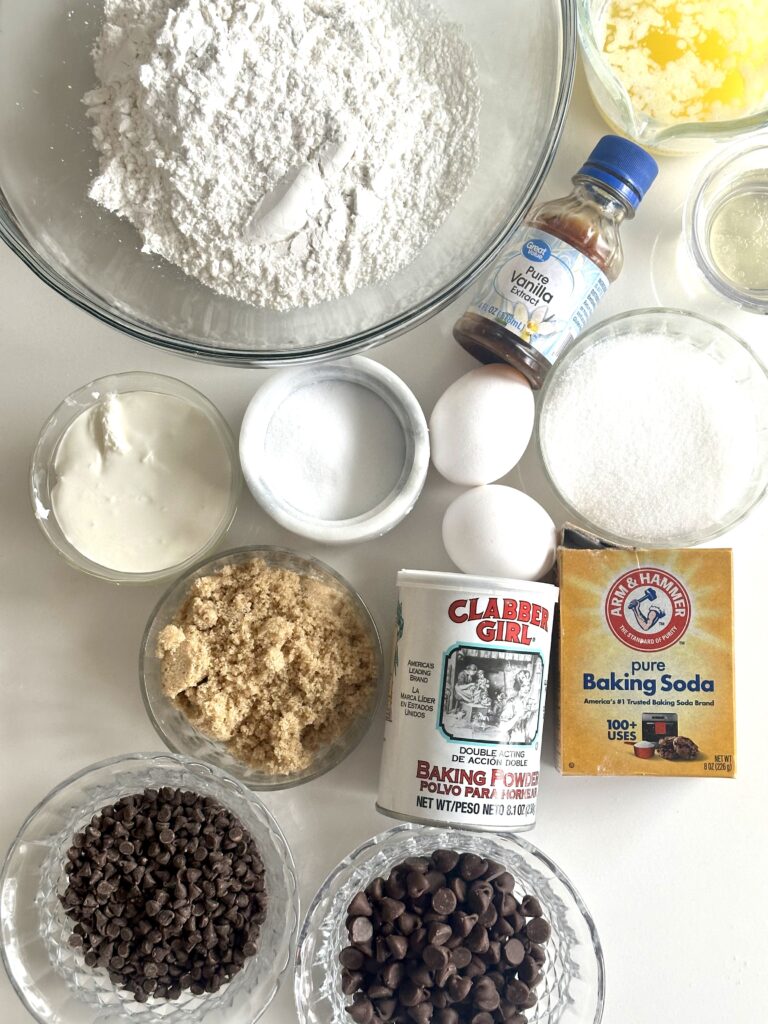
Let’s keep it simple, y’all. You likely already have these staples in your pantry or fridge! Be sure to see the full printable recipe below.)
•All-purpose flour( White Lily Flour is the perfect flour for these muffins. Makes them extra light and airy.)
•Granulated sugar
•Light brown sugar
•Baking powder
•Salt
Cinnamon
•Eggs
•Unsalted butter
•Vegetable oil
•Sour cream
•Vanilla extract
• Regular size semisweet sweet chocolate chips. (I use a combination of regular size chocolate chips and mini chocolate chips.)
* Mini size semisweet chocolate chips
 How to make Chocolate Chip Muffins
1. Preheat and Prep:
Preheat your oven to 400 degrees. Line a 12-cup muffin tin with paper liners or grease the cups with cooking spray.
2. Mix the Dry Ingredients:
In a medium bowl, whisk together the flour, baking powder, baking soda, salt and cinnamon.
3. Combine the Wet Ingredients:
In a large bowl, whisk together the melted butter, vegetable oil, and sugars until smooth. Add the eggs one at a time, whisking well after each addition. Stir in the vanilla extract and sour cream until fully combined.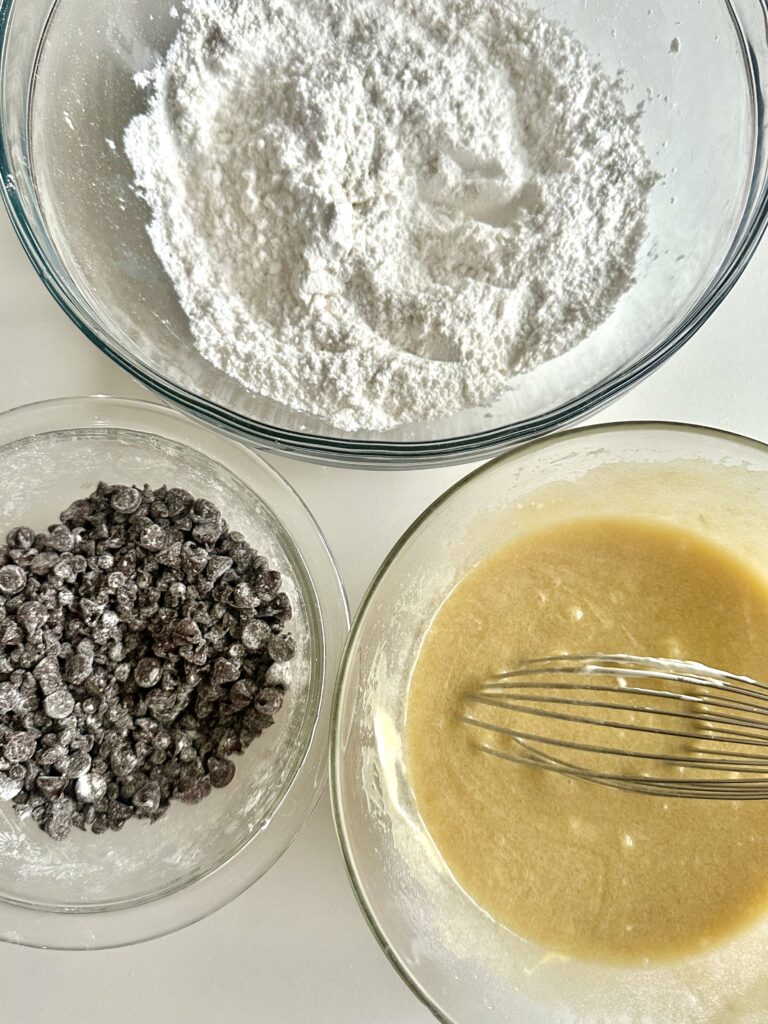
4. Combine Wet and Dry:
Gently fold the dry ingredients into the wet mixture, being careful not to overmix. A few small lumps are fine!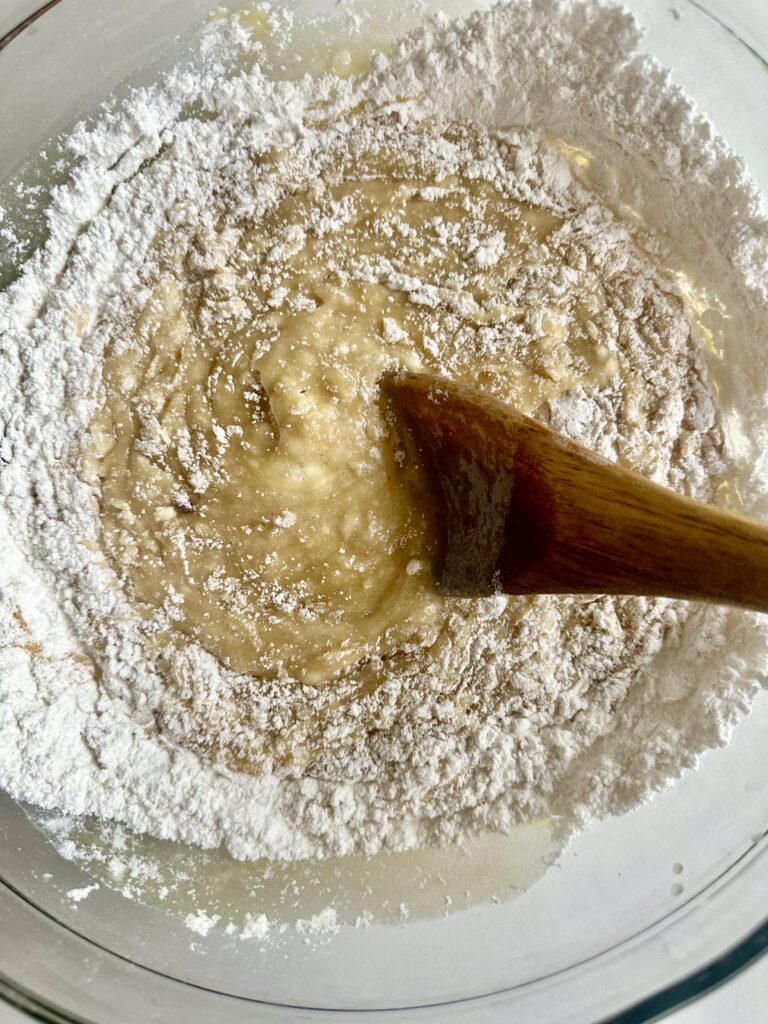
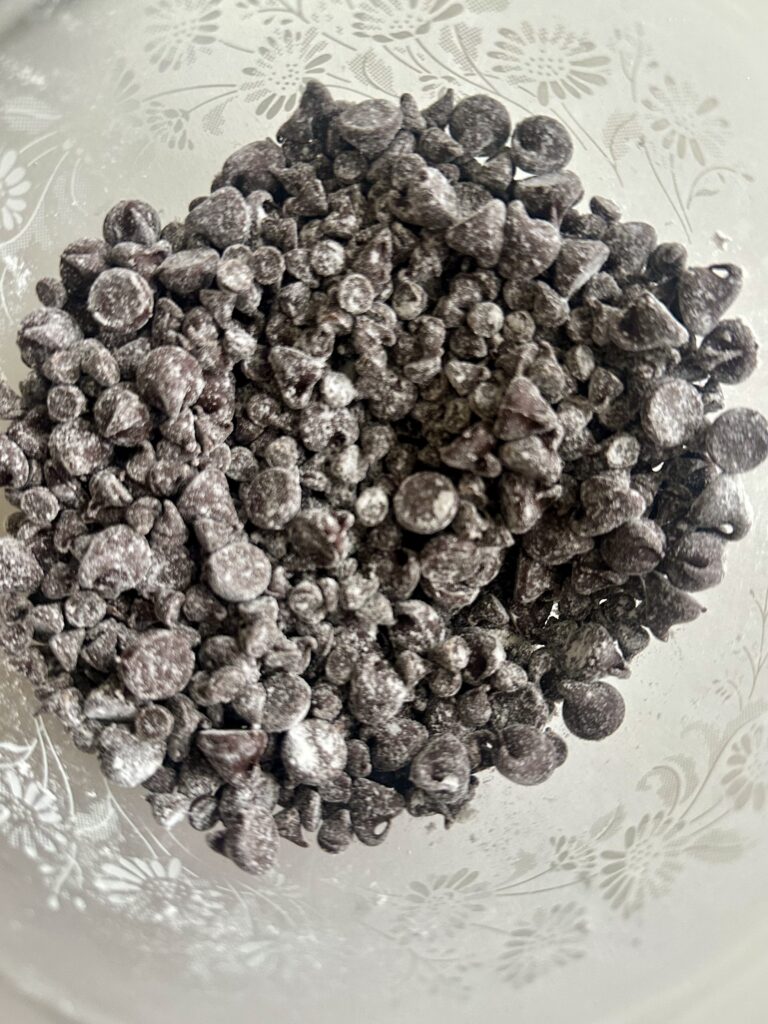
5. Add Chocolate Chips:
Combine the regular size chocolate chips and the mini chocolate chips and roll lightly in flour to prevent them from sinking to the bottom of the muffins.
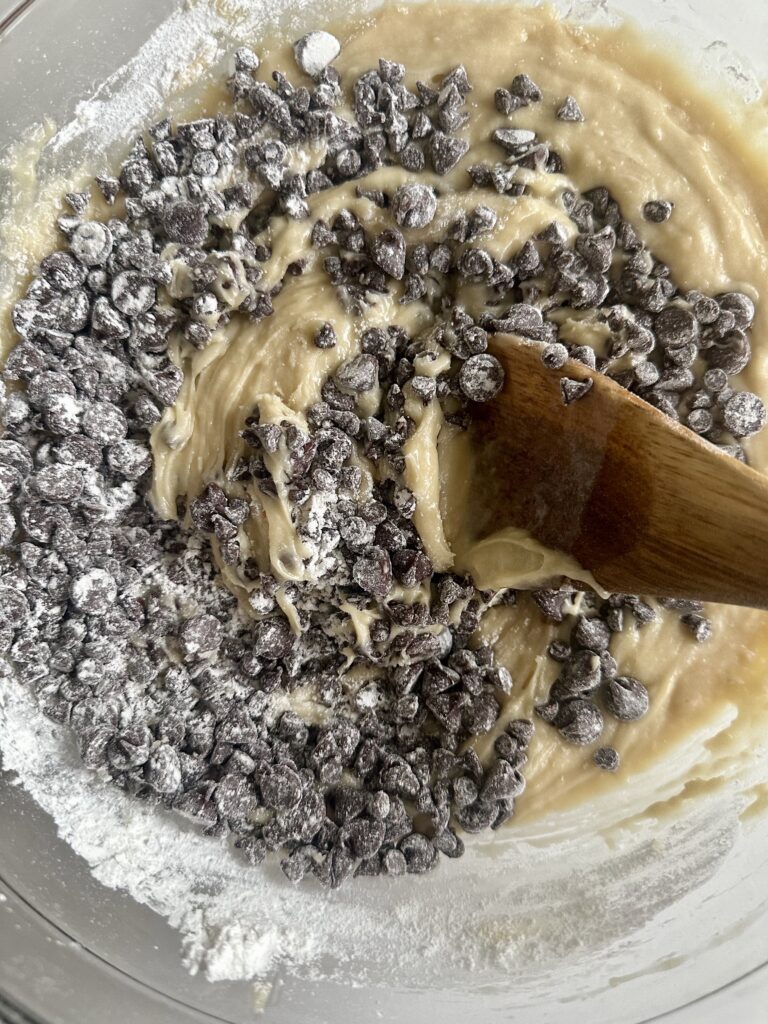
Fold in the chocolate chips until evenly distributed. Be sure not to over mix the batter.
 6. Fill the Muffin Tin:
Divide the batter evenly among the muffin cups, filling each muffin cup almost full or near the top. Sprinkle a few extra chocolate chips on top for that bakery-style look.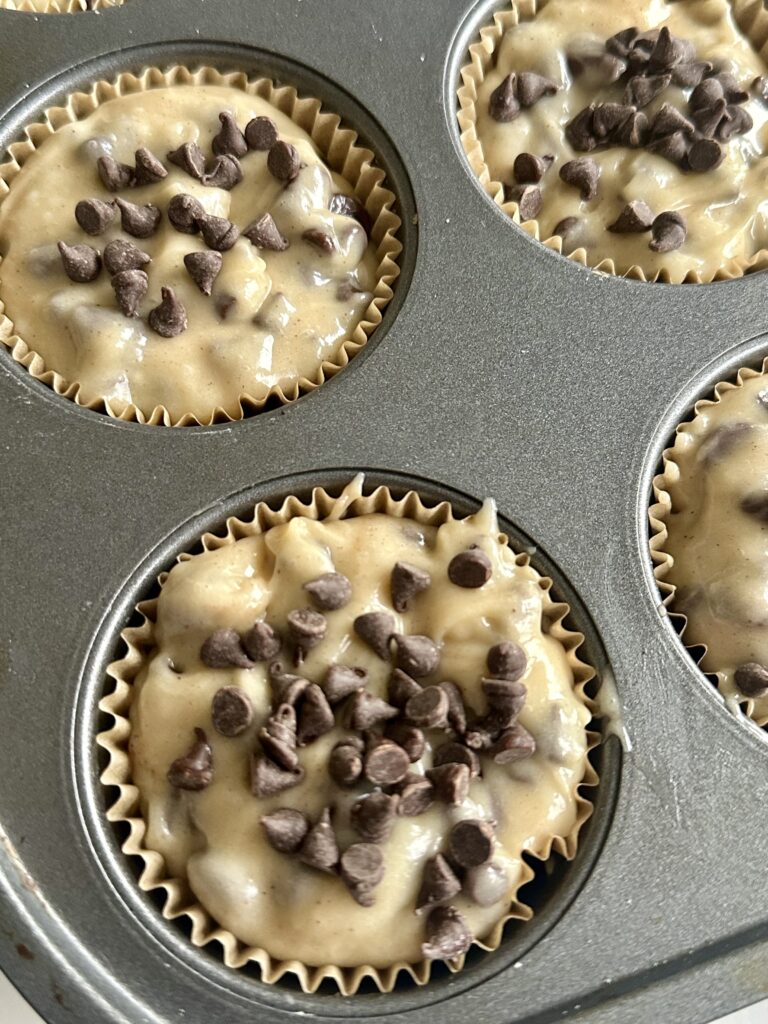
7. Bake: Here’s the secret to those perfect muffin tops: Bake at 400°F for the first 7 -minutes, then reduce the temperature to 375°F without opening the oven. Continue baking for an additional 10–15 minutes, or until a toothpick inserted into the center comes out clean (except for melted chocolate!). Now you can sprinkle a few mini chocolate chips on top of the muffins for a high end bakery look! Let the muffins cool in the pan for 5 minutes before transferring to a wire rack.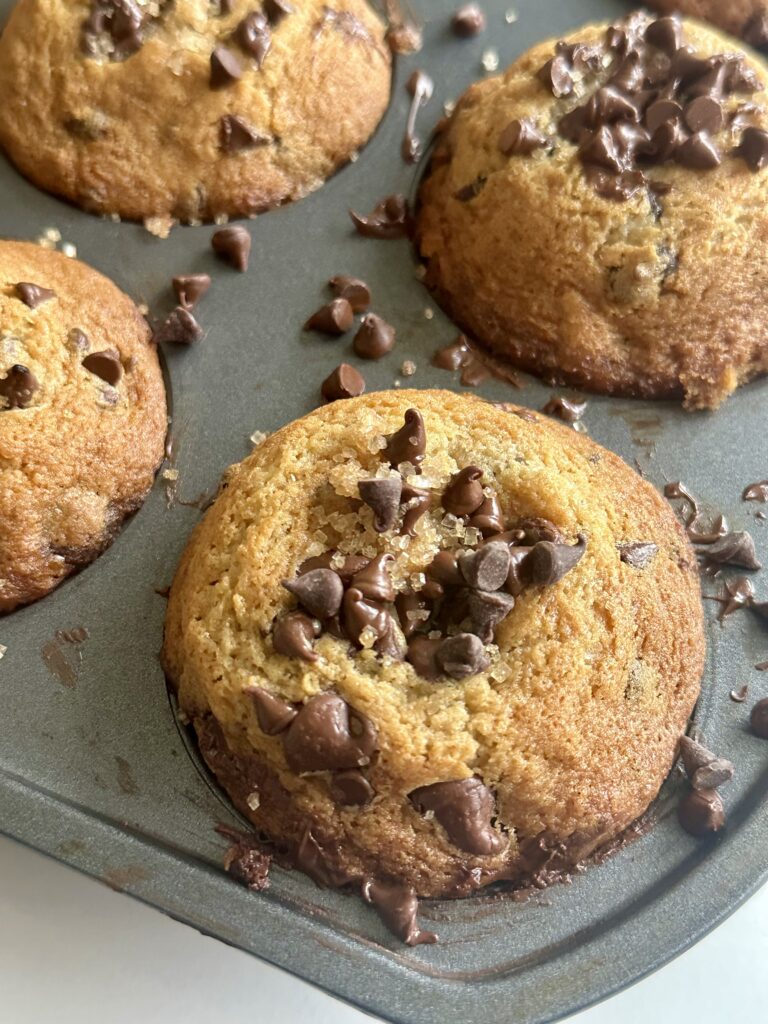
Kid-Friendly Fun
Let the little ones:
- Stir the batter (with supervision, of course!).
- Sprinkle chocolate chips on top before baking.
- Arrange muffins on a plate for a “tea party” once they’ve cooled.
How to Serve and Store
Serve: These muffins are divine warm from the oven with a pat of butter. Pair with coffee or milk for the perfect breakfast or snack.
Store: Keep them in an airtight container at room temperature for up to 3 days or freeze for up to 3 months. Reheat in the microwave for 15 seconds to enjoy like they’re fresh out of the oven.
Make it a Family Tradition
Picture this: Saturday morning, everyone still in their pajamas, the smell of muffins wafting through the house, and the sound of kids giggling while sneaking chocolate chips from the bag. These muffins aren’t just a recipe—they’re a memory waiting to be made.
Y’all go ahead and try these this weekend—I guarantee they’ll be a hit. If you make them, let me know how they turn out!
 Tips for Making the Best Muffins
- Start High, Then Lower the Heat: For muffins with tall, domed tops, bake them at 400°F for the first 7–minutes. This high heat gives the batter a quick rise. Then, lower the temperature to 375°F to finish baking evenly without drying them out.
- Use Room Temperature Ingredients: Eggs, butter, and sour cream mix better when they’re at room temperature, resulting in a smoother batter and fluffier muffins.
- Don’t Overmix the Batter: Overmixing can make the muffins dense. Stir just until the dry ingredients are incorporated. A few small lumps in the batter are fine.
- Measure Ingredients Properly: Be sure to sift the flour before measuring and then spoon flour into your measuring cup and level it off with a knife. Too much flour can make muffins dry.
- Reserve Some Chocolate Chips: Sprinkle a few chocolate chips on top of the batter right before baking for a professional, bakery-style finish.
- Let the Muffins Rest Before Baking: After mixing the batter, let it sit for 5–10 minutes before scooping it into the muffin tin. This can help the muffins rise even more in the oven.
- Check for Doneness Carefully: Muffins are ready when a toothpick inserted in the center comes out with a few crumbs but no wet batter. Be careful not to overbake, as they can dry out quickly.
- Use High-Quality Chocolate Chips: Opt for semi-sweet or dark chocolate chips.
- Sprinkle with the tops with raw sugar crystals or white corse sugar crystals immediately after taking out of the oven. This give the muffins an extra sugary crunch and makes them look like they came from a high end bakery.
Tips to Prevent Chocolate Chips from Sinking to the Bottom
- Coat Chips in Flour: Toss the chocolate chips in a tablespoon of flour before folding them into the batter. This helps them “stick” in place.
- Thicker Batter: A thicker batter naturally supports the chocolate chips better. Avoid overmixing the batter to keep it light and fluffy.
- Top with Chips: Reserve some chips (regular or mini) to sprinkle on top of the muffins right before baking. This ensures a chocolatey topping and keeps some chips visible.
 Storage Tips
- Room Temperature: How to Store: Place the muffins in an airtight container or a zip-top bag. Line the container with a paper towel to absorb moisture and prevent sogginess, and place another paper towel on top before sealing. Shelf Life: They’ll stay fresh for 2-3 days at room temperature.
- Refrigeration: How to Store: If your environment is particularly warm or humid, you can refrigerate the muffins. Use an airtight container to prevent them from drying out. Shelf Life: They’ll last about 5-7 days in the fridge, but bring them to room temperature or warm them slightly before eating for the best flavor and texture.

Freezing Tips
- How to Freeze: Allow the muffins to cool completely to avoid condensation and freezer burn. Wrap each muffin individually in plastic wrap or aluminum foil for maximum freshness. Place the wrapped muffins in a freezer-safe zip-top bag or an airtight container. Label the bag with the date for easy tracking.
- Shelf Life: Muffins can be frozen for up to 3 months. After this, they’re still safe to eat, but the texture and flavor may start to diminish.
- How to Thaw: Room Temperature: Remove the muffins from the freezer and let them thaw in their wrapping at room temperature for a couple of hours.
- Microwave: For a quicker option, unwrap a muffin and heat it in the microwave for 20-30 seconds.
Thank you for stopping by. I hope you enjoy these muffins as much as me and my family do. Please let me know if you make them.
Enjoy!
Aletia
Other recipes that you will love:
Blueberry Lemon Bread with Lemon Icing
For more delicious Southern recipes, check out my bestselling cookbook. You can purchase an autographed copy here
Deliciously Southern (Autographed Edition)
 Please leave a comment below. I would love to hear from you. So you don’t miss a single recipe, please subscribe to my blog and be sure to follow me on Facebook, Instagram, and Pinterest.

Best Chocolate Chip Muffins
 Prep Time: 10 minutes
 Cook Time: 18 to 20 minutes
 Total Time: -29154225.15 minute
 Yield: 10 to 12 muffins
Description
These chocolate chip muffins are the perfect blend of light, airy, and irresistibly moist, bursting with rich chocolate in every bite. Their delicate crumb and decadent flavor make them an indulgent treat that’s impossible to resist. Perfect for weekend mornings, they’re a delightful way to start your day with a touch of sweetness and warmth.
Ingredients
2 cups all-purpose flour
1 teaspoon baking powder
l½ teaspoon baking soda
½ teaspoon salt
1/2 teaspoon ground cinnamon
½ cup salted butter, melted and slightly cooled
¼ cup vegetable oil
½ cup granulated white sugar
½ cup light brown sugar, firmly packed
2 large eggs, at room temperature
1 ½ teaspoons vanilla extract
½ cup sour cream
3/4 cup regular size semi-sweet chocolate chips
3/4 cup mini size semisweet chocolate chips (Plus extra for sprinkling on top.)
Note: I use a combination of regular size chocolate chips and the mini chocolate chips. It’s a perfect blend!
Raw sugar crystals for garnish, optional but adds so much!
Instructions
1. Preheat and Prep:
Preheat your oven to 400 degrees. Line a 12-cup muffin tin with paper liners or grease the cups with cooking spray.
2. Mix the Dry Ingredients:
In a medium bowl, whisk together the flour, baking powder, baking soda, salt and cinnamon.
3. Combine the Wet Ingredients:
In a large bowl, whisk together the melted butter, vegetable oil, and sugar until smooth. Add the eggs one at a time, whisking well after each addition. Stir in the vanilla extract and sour cream until fully combined.
4. Combine Wet and Dry:
Gently fold the dry ingredients into the wet mixture, being careful not to overmix. A few small lumps are fine!
5. Add Chocolate Chips:
Fold in the regular size chocolate chips and the mini chocolate chips until evenly distributed. 3/4 cup of each. Total of 1 1/2 cups of chocolate chips
6. Fill the Muffin Tin:
Divide the batter evenly among the muffin cups, filling each muffin cup almost to the top. Sprinkle a few extra chocolate chips on top for that bakery-style look.
7. Bake: Here’s the secret to those perfect muffin tops: Bake at 400°F for the first 7–8 minutes, then reduce the temperature to 375°F without opening the oven. Continue baking for an additional 10–15 minutes, or until a toothpick inserted into the center comes out clean (except for melted chocolate!). Let the muffins cool in the pan for 5 minutes before transferring to a wire rack.
8. For a high end bakery look and extra deliciousness, sprinkle a few mini chocolate chips and raw sugar crystals on top.
Notes
Storage Tips
- Room Temperature: How to Store: Place the muffins in an airtight container or a zip-top bag. Line the container with a paper towel to absorb moisture and prevent sogginess, and place another paper towel on top before sealing. Shelf Life: They’ll stay fresh for 2-3 days at room temperature.
- Freezing Tips
- How to Freeze: Allow the muffins to cool completely to avoid condensation and freezer burn. Wrap each muffin individually in plastic wrap or aluminum foil for maximum freshness. Place the wrapped muffins in a freezer-safe zip-top bag or an airtight container. Label the bag with the date for easy tracking.
- Shelf Life: Muffins can be frozen for up to 3 months. After this, they’re still safe to eat, but the texture and flavor may start to diminish.
- How to Thaw: Room Temperature: Remove the muffins from the freezer and let them thaw in their wrapping at room temperature for a couple of hours.
- Microwave: For a quicker option, unwrap a muffin and heat it in the microwave for 20-30 seconds.

