
Learn how to make the BEST homemade Southern buttermilk biscuits, soft, flaky, buttery, and tender. An easy made from scratch step-by-step recipe you’ll love.

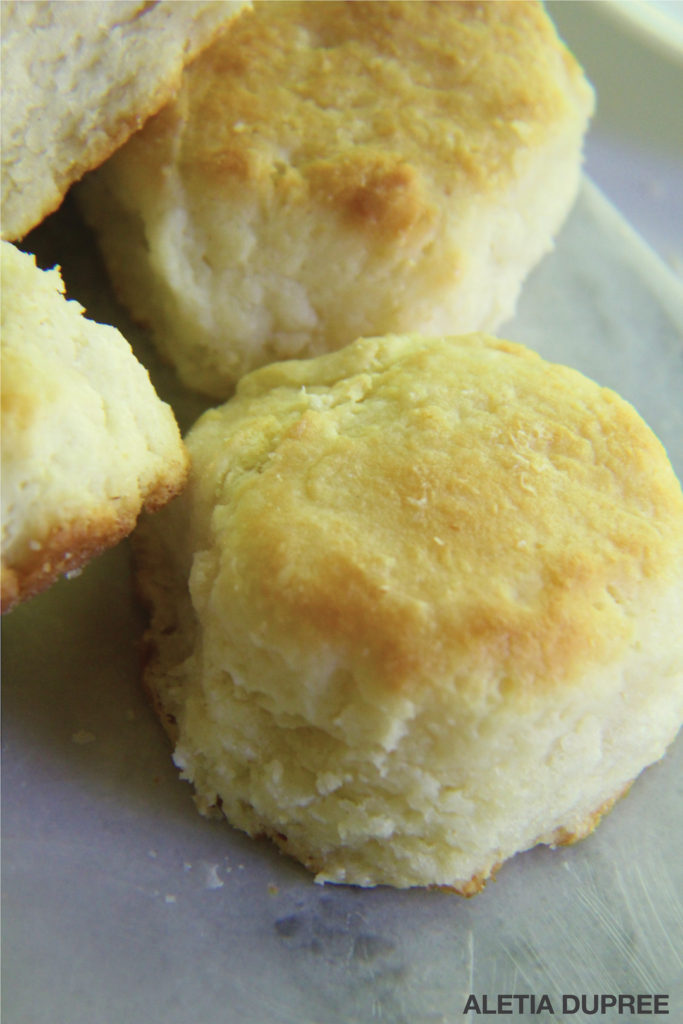
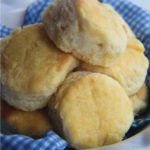
Delicious light and fluffy biscuits!
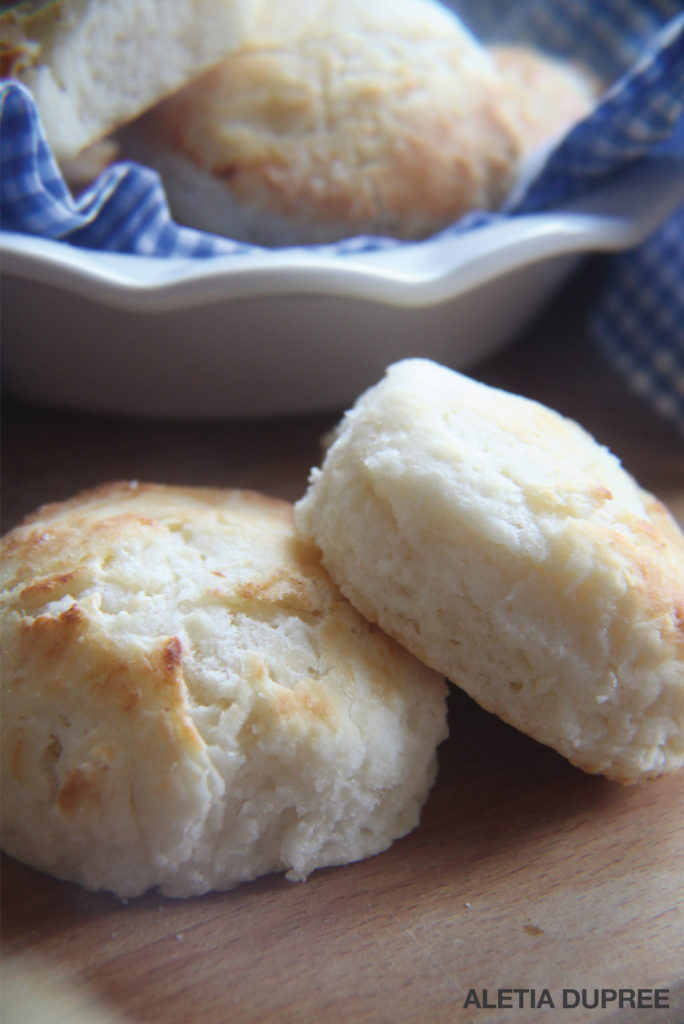
These homemade Southern buttermilk biscuits are simply the best! They are soft, light, buttery, flaky and sooooo tender, but sturdy enough to slice, and fill with your favorite jelly or jam. It’s the biscuit recipe that you have been waiting for.
For Southerners, our beloved biscuits are right up there with our sweet tea and cornbread as our saving grace and rite of passage. We enjoy them with cream gravy, honey, sorghum syrup, jelly, jams, fried chicken or just plain with lots of butter.
For a true blue Southern girl, like myself, it just doesn’t get much better than a hot, buttered pan of homemade biscuits.
Once you’ve tasted your very own made-from-scratch biscuit, you’ll say goodbye to canned or frozen biscuits from now on!
I must warn you that this post is more lengthy than others so you are welcome to jump right straight to the recipe if you are short on time, but I hope you stay and visit here for a while and let’s talk some “ homemade biscuit talk”, okay? When you are talking about the Holy Grail of Southern cooking, it’s simply hard to be brief.
Southern Biscuits 101
If you ask 100 Southerners how they make their biscuits, I betcha that you would get 100 different answers. Over the years, I have discovered that biscuits are like fingerprints, no matter what, no two biscuits will never be the same. Some people like their biscuits thick, some thin and crispy, some like them small and some like them big or as we say in the deep South, cathead size biscuits.
 One cook may use only White Lily Flour.
Another swears by lard in their biscuits because that’s what Grandma always used and others use all butter or Crisco shortening.
But, no matter what kind of flour or shortening you choose to use, there is one ingredient that we all can agree on for perfect Southern biscuits and that’s buttermilk. Buttermilk gives the biscuit dough the acidity as well as its fat and liquid content. When buttermilk is combined with the leaveners such as baking soda and baking powder, it helps the dough to rise beautifully! Plus, the buttermilk gives the biscuit a nice soft moist texture and a delicious taste. There is nothing that can compare to a made from scratch buttermilk biscuit, and in this post I’m going to teach you everything I’ve learned about biscuit making!
My Biscuit Journey
I learned to make biscuits through a lot of trial and error and blood, sweat and tears and by a young girl that was willing to share her secrets to Southern biscuit-making.
My mama was a great teacher on teaching me how to cook just about everything, but for some reason she “politely” refused to teach me how to make biscuits! Even my grandmother wouldn’t even share her secret to biscuit making! The only advice that I remember them giving about biscuit making was that the dough me was about biscuit had to, “feel right”. And yes, I agree, the dough has to feel right. It has to feel as soft as a baby butt! So the real secret to biscuit making is in the gentle touch of your hands!
So this ritual rite of passage of biscuit making was never passed down to me. But they did pass down the true love of homemade biscuits. That’s one thing for sure.
The mystic behind biscuit making continued to haunt me. I felt like I was on the search for the “Holy Grail” of Southern cooking. Back in my mothers, grandmothers and great-grandmothers day a lot was at stake if you were not a good biscuit maker-finding a husband or your total reputation as a good Southern cook was on the line.
But one day I figured it out!-The real reason why they didn’t want to reveal their biscuit making secrets. It was because it was very, very personal to them. Biscuits are like your very own fingerprint and a Southern woman takes much pride in her biscuit making. It’s the defining mark of a “good southern” cook to be a good biscuit maker! To share their secret would be like selling out a part of their soul. I guess that’s why most Southern women of past generations took their biscuit making secrets to their grave.
For many years, I was terrified to even attempt to make biscuits. I was afraid that they wouldn’t be as good as my mama’s or my grandmother’s biscuits.
One day, I finally found someone to teach me the art of biscuit making! She was a young girl that was our breakfast cook at our family restaurant. She was a country girl that came from a large family and had learned to make biscuits from when she was a mere child. Every single morning, I religiously watched her make the biggest, best “cat head” biscuits that you had ever seen and tasted.
I remember her saying over and over while she was making the biscuits, “Don’t over mix your dough because you want it to be as SOFT AS A BABY’S BUTT”. As soft as a baby’s butt, that was the SECRET! It was as simple as that! I wanted to shout Hallelujah!!! I can’t tell you how thrilled I was to finally know the secret behind the “Holy Grail” of Southern food was just-a-simple-as-a-gentle- touch or dough that is as soft as a baby’s butt!
I’ve been perfecting my biscuit making for years now and I have made plenty of mistakes along the way. Today I will teach everything that I have learned so you won’t have to make the same mistakes. So my friends are you ready to roll up your sleeves and get in the kitchen and make some awesome biscuits?

What You’ll need to make these Homemade Buttermilk Biscuits
You will only need 6 basic ingredients for my homemade buttermilk biscuit recipe:
( Be sure to see the full printable recipe below this post.)
- Self-rising flour (White Lily)
- Baking powder
- Sugar
- Cold butter (extra for brushing biscuits)
- Cold vegetable shortening or lard (Crisco Shortening is my favorite brand! Just can’t beat it.)
- Cold (full fat) buttermilk
Tips and how to make the best homemade buttermilk biscuit
1. Use a Really Soft Self-Rising Flour: I always use White Lily Flour. To me, it’s the absolute best for making biscuits. It’s the flour that Southerners swear by.
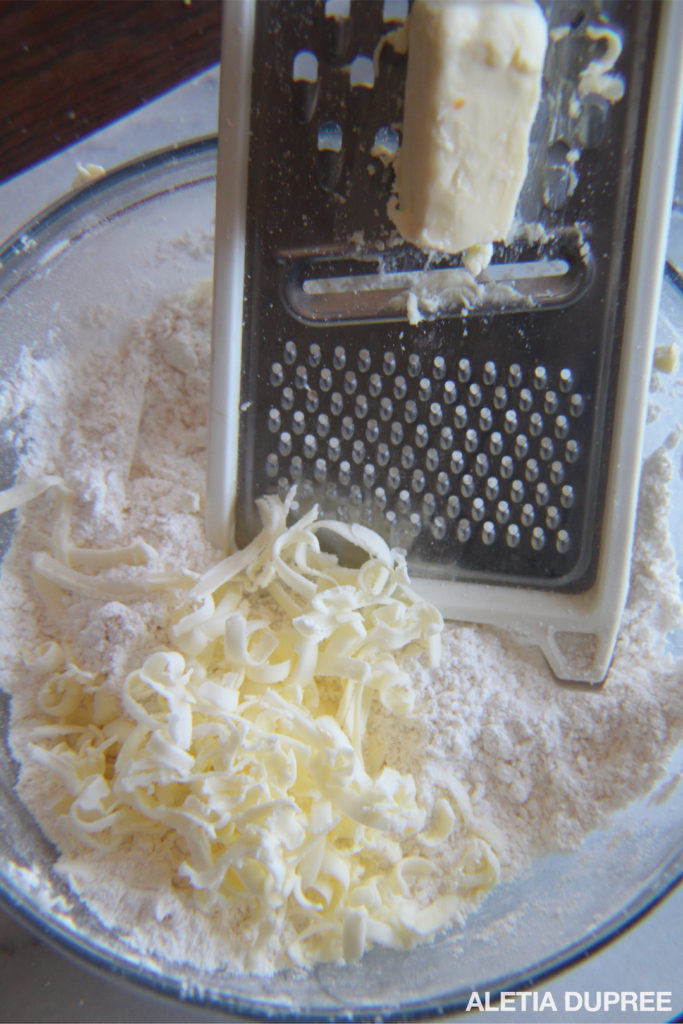
2. Cold Fat: Make sure that your shortening, butter, and buttermilk is very cold. I use both shortening and butter in this recipe. Keeping all your ingredients super cold will help create flaky layers. When the little pieces of shortening and butter melt as the biscuits bake, they release steam and create pockets of air. This makes the biscuits light and airy and flaky too. I just started putting butter in my biscuit dough. Before I just only used vegetable shortening or Criso. (My favorite brand of cake shortening!) Note on the butter: Be sure to use unsalted butter. I love the combination of butter and cake shortening. The butter gives the buttery flavor and makes the biscuits a delicious flavor and makes the biscuits rise higher and the shortening and the shortening gives the biscuits tender texture.
3. Sugar for flavor and Baking Powder to Make the Biscuits Rise Taller: The small amount of sugar helps to balance out the salt taste. We do use self-rising flour in this recipe but the extra baking powder helps to give the biscuits a little more lift.
4. Don’t Over Mix the Dough: Never over mix your biscuit dough. A GENTLE touch is the key to soft, tender, light biscuits. Overworking and overhandling biscuit dough will result in tough, hard, dry flat biscuits. Mix the ingredients together just until combined and the dough is moist. Dough will be wet and sticky. Remember we want to keep it “soft as a baby’s butt”.
 5. Folding to Make Layers: We want light flaky layers in our biscuits. This is the tricky part-folding the dough but with a gentle touch so you don’t overwork the dough. I use my hands rather than a dough roller. With lots of flour on my work surface and hands, I gently pat out my dough into a rectangular form. Then fold it over and then back to the rectangular shape. I repeat this 2 more times. This takes lots of practice but don’t worry, you can do it!. Just be VERY GENTLE with the folding. We will fold about three times.
 6. Don’t Twist the Biscuit Cutter: When cutting the dough out with a biscuit cutter, do not twist the biscuit cutter. Just firmly press the biscuit cutter down straight. Twisting prevents the biscuits from rising tall.

7. Work as Fast as You Can: Don’t stress out about this. You want all your ingredients to stay as cold as possible. Before baking, I usually pop my whole baking pan in the freezer for about 5 minutes anyway.
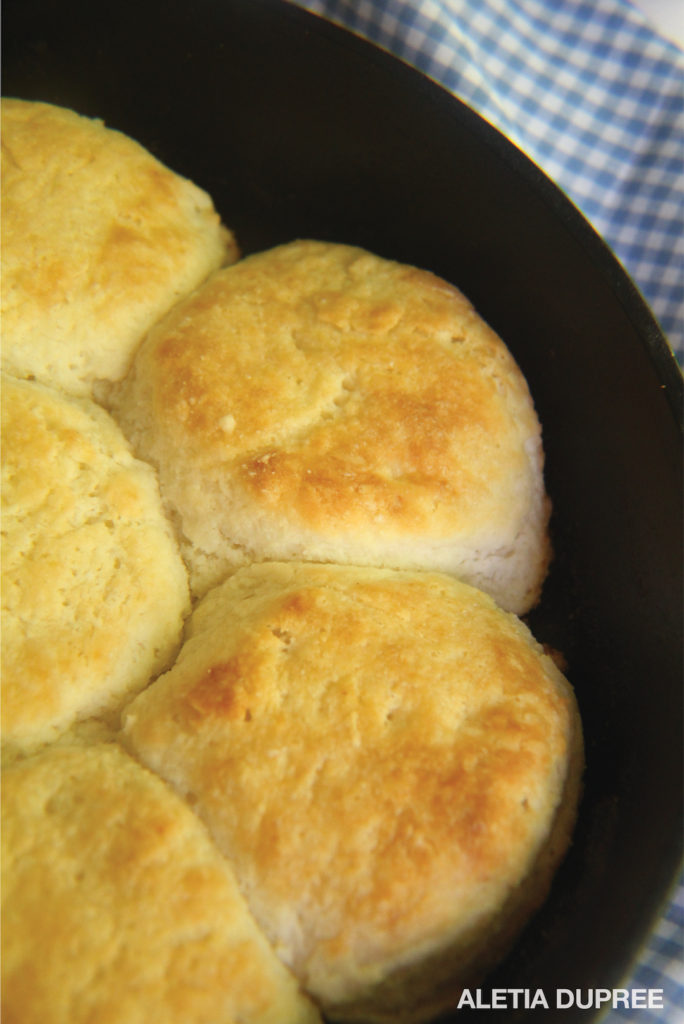
8. Bake Biscuits Close Together and Brush with Lots of Butter: Placing the biscuits so they are touching one another makes them rise up nice and tall. I love to make them in a round cake pan or an iron skillet. Brush with a generous amount of butter before baking and after baking. Who doesn’t love lots of butter on a biscuit?
 9. Practice Makes Perfect: Biscuit making is an art. It’s your very own fingerprint. So get in the kitchen all by yourself and practice, practice, practice, until you get the feel for it. I promise if you never give up, you will get this biscuit making thing down pat!
I would love to hear you biscuit making story!
Enjoy and have fun making your very own fingerprinted biscuits.
Follow me on Instagram @aletiadupree and if you make my recipe be sure to tag it #deliciouslysouthern. Don’t forget to leave a comment below. I would love to hear from you and answer any questions you may have about biscuit making.
Homemade Buttermilk Biscuits
 Prep Time: 10 minutes
- Cook Time: 14 to 16 minutes
- Total Time: -29753139.466667 minute
 Yield: 8 medium size biscuits
Description
These biscuits are simply the best! They are soft, light, buttery, flaky and soooo tender, but sturdy enough to slice, and fill with your favorite jam or jelly. It’s the biscuit recipe that you have been waiting for!
Ingredients
- 2 ½ cups self rising flour, Sifted and then measured ( I prefer White Lily Flour) Plus more for kneading
- 1 teaspoon baking powder
- 1/4 teaspoon white granulated sugar
- ¼ cup cold vegetable shortening
- 5 tablespoons (unsalted) frozen butter, Plus extra for brushing biscuits
- 1 ½ cups cold buttermilk
Instructions
- Preheat the oven to 450 degrees.
- In a large bowl, sift together flour, baking powder and sugar.
- Cut in cold shortening with a pastry cutter until crumbs are the size of peas.
- Grate in frozen butter, tossing gently with shortening and flour.
- Stir in buttermilk until the dough is wet and sticky ( Be careful not to over stir).
- Generously flour your hands and work surface.
- Gently turn dough out onto the floured surface.
- Sprinkle a small amount of flour on the dough and your hands. With a gentle touch pat the dough out with your hands into a 1-inch thick rectangle. Very, very gently fold dough over like an envelope. Fold 3 times. This is what makes the flaky layers. ( Note: Be sure to do the folding with a gentle hand. Overworking the dough will make tough biscuits.)
- Dip the biscuit cutter into flour and cut into flour and cut into round circles. ( Do not twist the cutter.) Gently shape the dough scraps into a ball ( usually the last two biscuits are made from the scraps) and cut with the biscuit cutter. ( You should have a total of eight biscuits or more if you use a smaller biscuit cutter.)
- Place biscuits on a baking pan lined with parchment paper or a well greased or buttered iron skillet. ( I like to bake my biscuits in an iron skillet. I melt two tablespoon of butter and pour in the skillet before placing the biscuits in the skillet. The butter gives the bottom of the biscuits a nice brown buttery crust.)
- Place biscuits in the pan with the sides touching. (Sides touching makes the biscuits rise higher and gives you a softer biscuit.) If you like your biscuits crisper, place them 1-inch apart.
- Brush biscuits with melted butter.
- Bake in the preheated oven for 12 to 14 minutes or until tops are golden brown.
- Remove from the oven and brush with melted butter.
- Serve warm and enjoy!!
Notes
Make sure ALL your ingredients are super cold, even your mixing bowl. I freeze my butter and grate it in. Pop your mixing bowl in the freezer the night before or at least 30 minutes before mixing the dough. Having all your ingredients as cold as possible will make the biscuits rise taller. If you feel your dough has gotten to warm, place the whole pan with the cut out biscuit dough in the freezer for about 5 minutes. I do this a lot myself.
Be sure to preheat the oven. Hot heat will also make the biscuits rise more.
Practice, Practice, Practice! Enjoy your biscuit making! They will taste wonderful. I have complete confidence in you!


Hi, love your description and the recipe for the mist fluffliest buttermilk biscuits. I live in Canada, we dont have self raising flour (lily brand) what can I sub for this flour?
Thank you
Malinda
Thank you so much Malinda! You can use any soft self-rising four. King Author is a good one. I love this recipe. Please let me know how your biscuits turn out.😄